Create a Deployment on Astronomer Software
Use this document to learn how to create a Deployment on Astronomer Software.
Prerequisites
Create a Deployment in the Software UI
To create an Airflow Deployment on Astronomer:
-
Log in to your Astronomer platform at
app.BASEDOMAIN, select a Workspace, and then click New Deployment. -
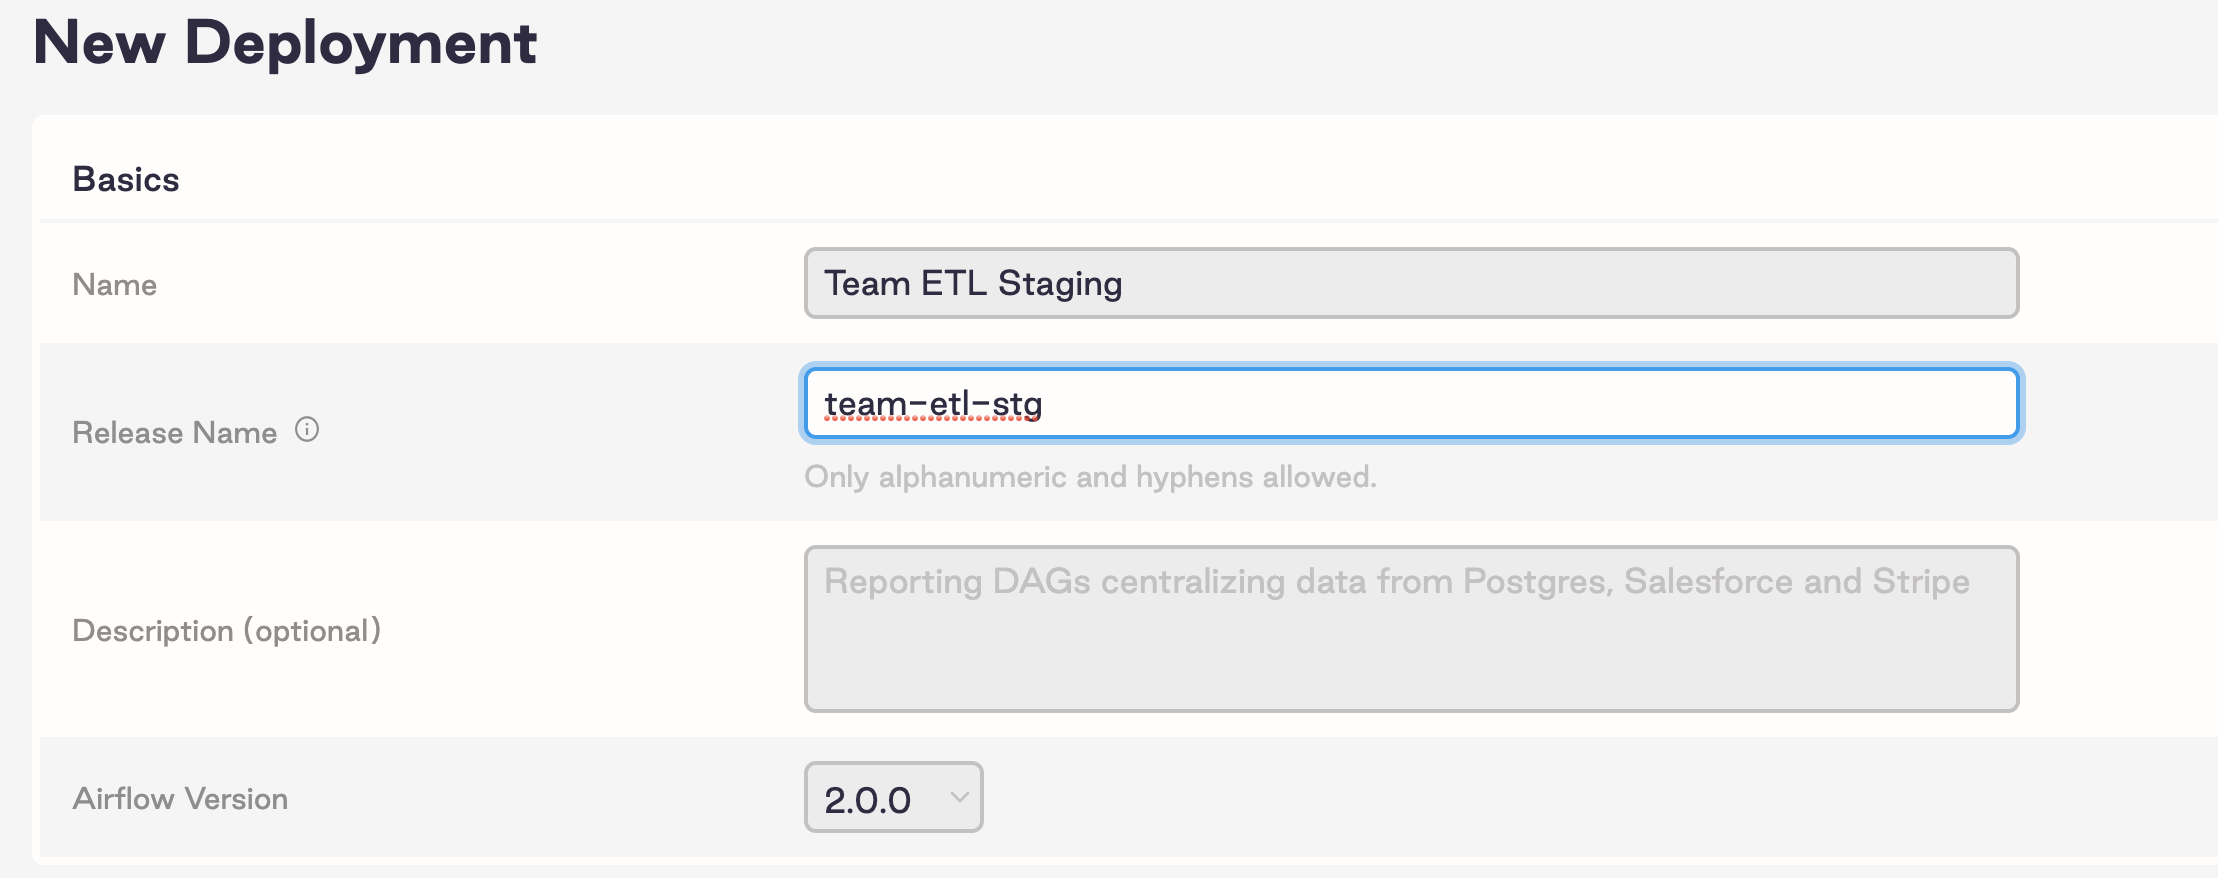
Complete the following fields:
- Name: Enter a descriptive name for the Deployment.
- Description: (Optional) Enter a description for your Deployment.
- Airflow Version: Select the Airflow version/ Astro Runtime version that the Deployment should run with.
- Executor: Astronomer recommends starting with Local.
-
Click Create Deployment and wait a few moments. After the Deployment is created, you can access the Settings page of your new Deployment:
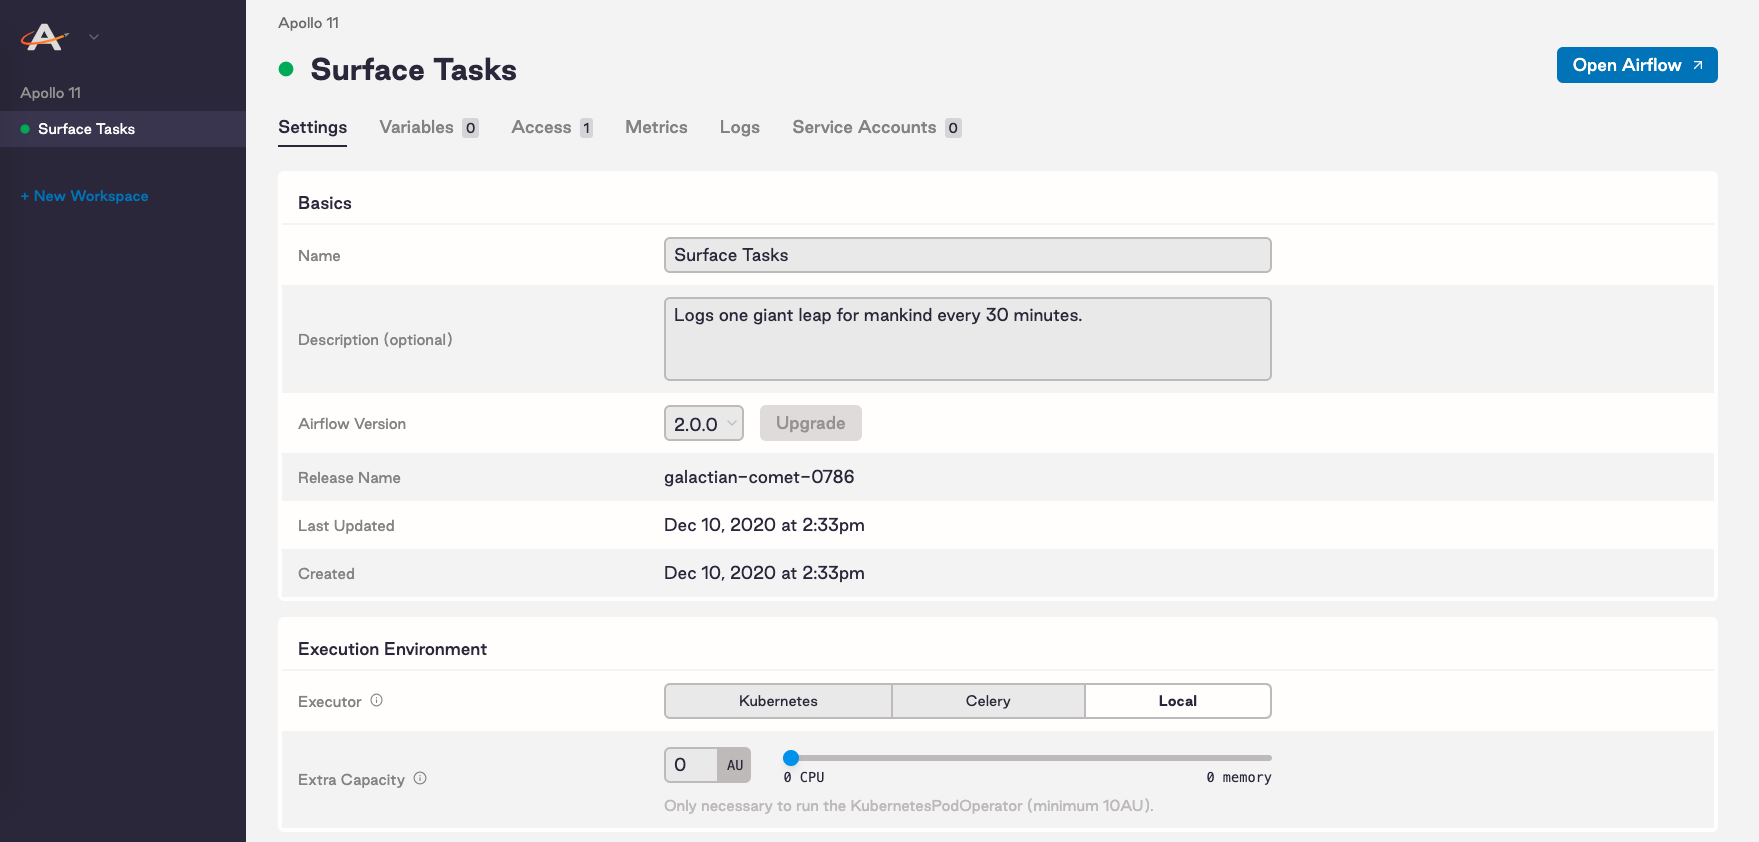
On this tab you can modify resources for your Deployment. Specifically, you can:
- Choose a strategy for how you configure resources to Airflow components. See Customize resource usage.
- Select an Airflow executor
- Allocate resources to your Airflow scheduler and webserver
- Set scheduler count (Airflow 2.0+ only)
- Add extra capacity (Kubernetes only)
- Set worker count (Celery only)
- Adjust your worker termination grace period (Celery only)
Customize Deployment release names
An Airflow Deployment’s release name on Astronomer is a unique, immutable identifier for that Deployment. The release name corresponds to its Kubernetes namespace and that renders in Grafana, Kibana, and other platform-level monitoring tools.
By default, release names are randomly generated in the following format: noun-noun-<4-digit-number>. For example: elementary-zenith-7243. Alternatively, you can customize the release name for a Deployment if you want all namespaces in your cluster to follow a specific style.
To customize the release name for a Deployment as you’re creating it, you first need to enable the feature on your Astronomer platform. To do so, set the following value in your values.yaml file:
Then, push the updated config.yaml file to your installation as described in Apply a config change.
After applying this change, the Release Name field in the Software UI becomes configurable:
Programmatically create or update Deployments
You can programmatically create or update Deployments with all possible configurations using the Houston API upsertDeployment mutation. See Create or update a Deployment with configurations.
Create Deployments using Astro Runtime SHA256 digest
By default, Deployment creation references an Astro Runtime image by its tag in the Kubernetes spec, like quay.io/astronomer/astro-runtime:9.3.0. However, image tags are mutable and can lead to non-reproducible builds if the image associated with the tag changes. Instead of using the Runtime image tag, you can configure Astronomer Software to reference a Runtime image’s immutable sha256 digest, such as quay.io/astronomer/astro-runtime@sha256:<digest>. Using the sha256 digest ensures secure, immutable, and reproducible Deployments, which prevents unexpected behavior caused by tag reassignments.
After you enable using the sha256 digest, when users create or update Deployments that include a SHA version, they still see the same Runtime Image tag view as before in the UI or CLI, but the system resolves the build using the sha256 digest in the Kubernetes spec.
Step 1: Enable configuration
Apply a config change to your Houston values.yaml file to enable customImageShaEnabled.
Step 2: (Optional) Correlate SHA256 with Runtime versions
By default, Astronomer Software checks for Airflow updates, which are included in the Astro Runtime, once per day at midnight by querying https://updates.astronomer.io/astronomer-runtime. This returns a JSON file with details about the latest available Astro Runtime versions.
You can store this information in the cluster itself by completing the following steps:
- Download the JSON files and store them in a Kubernetes configmap by running the following commands:
- Open the
astro_runtime_release.jsonfile and manually add the SHA256 values that you want Deployments to use for each Runtime version. For example, the following code example shows
Add the Tag and SHA256 value and save:
- Add your configmap name,
astro-runtime-base-imagesto your Houston configuration using theruntimeReleasesConfigMapNameconfiguration:
Step 3: (Optional) Specify default Runtime
If you want to configure your platform to create Deployments with a single, specific Runtime version, you can add the defaultRuntimeRepository configuration to specify the Runtime: