

Update a Deployment name and description
- In the Astro UI, click Deployments, then select a Deployment.
- Click Edit at the top of the Deployment page.
- In the Basic section, update the Deployment Name or Description.
- Click Update Deployment.
Configure Deployment contact emails
Configure a contact email to get proactive alerts directly from Astronomer support. Astronomer support uses contact emails to notify recipients in case there’s an issue with the infrastructure for your Deployment, such as a problem with your scheduler or worker components.- In the Astro UI, click Deployments, then select a Deployment.
- Click the Details tab. In the Advanced section, click Edit.
- To add an alert email:
- In the Contact Emails section, click Add Email.
- Enter an email address and then click Add.
- To delete an alert email address:
- In the Contact Emails section, click Delete next to the email you want to delete.
- Click Yes, Continue.
Fallback emails
For Deployments without a contact email set, Astronomer sets a fallback value to ensure critical issues don’t get missed. To see the fallback values for a Deployment without a contact email, go to the Details tab and find Contact Emails in the Advanced section. To override the fallback values displayed, set a contact email. We recommend that every Astro Deployment have a contact email set to ensure timely receipt of notifications. For Deployments without a contact email, Astronomer uses the Deployment Creator as the fallback. For Deployments without a valid Deployment Creator, Astro uses Workspace Owners. In Workspaces without an Owner, Astro uses Organization Owners. Check that your Deployments, Workspaces, and Organizations each have a valid owner to ensure that key support communications don’t get missed.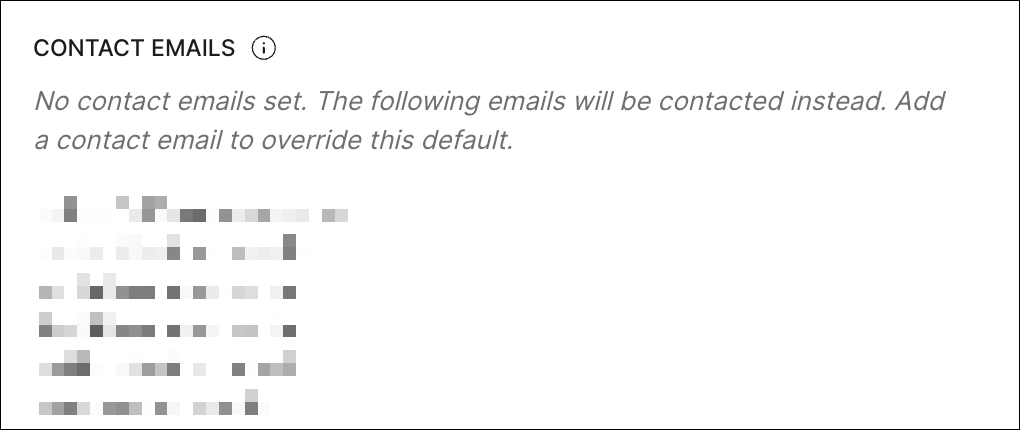
Enforce CI/CD deploys
This is feature is only available if you are on the Business tier or above. See Astro Plans and Pricing.
- In the Astro UI, click Deployments, then select a Deployment.
- Click Edit at the top of the Deployment page.
- In the Advanced section, find CI/CD Enforcement and click the toggle to On.
When CI/CD enforcement is enabled for a Deployment, you can’t enable or disable Dag-only deploys for the Deployment.To enable or disable dag-only deploys when CI/CD enforcement is turned on:
- Turn CI/CD Enforcement to Off.
- Enable or disable the dag-only deploy feature. See Enable or disable dag-only deploys.
- Turn CI/CD Enforcement back to On.
Delete a Deployment
When you delete a Deployment, all infrastructure resources assigned to the Deployment are immediately deleted.- In the Astro UI, click Deployments, then select a Deployment.
- Click the Deployment’s More actions menu (⋯), then select Delete Deployment.
- Enter the Deployment name shown in the dialog, then click Yes, Continue.
Find Deployment external IP addresses
Each Astro Deployment has its own external IP addresses. Allowlist these addresses on any external service as a first step to create a connection between the Deployment and the service.- In the Astro UI, click Deployments, then select a Deployment.
- Select the Details tab.
- In the Other section, find the External IPs associated with the Deployment.