Houston API
The Astronomer Houston API is the source of truth across the entire Astronomer platform.
For Astronomer Software users, our API is an easy way to do any of the following:
- Query the platform’s database for information about a user, Workspace, or Deployment
- Perform CRUD operations on entities scoped to the Astronomer platform, including Airflow Deployments, Workspaces, and users
For example, you can:
- Delete a deployment
- Look up a deployment’s resource config
- Add a user to a Workspace
- Make a user a System Administrator
Anything you can do with the Software UI, you can do programmatically with the Astronomer Houston API.
airflowVersion arguments with runtimeVersion arguments in your scripts. For more information about migrating a Deployment from Astronomer Certified to Astro Runtime, see Migrate a Deployment from Astronomer Certified to Astro Runtime.Getting started
A GraphQL Playground is a graphical, interactive, in-browser GraphQL IDE where you can develop and test API queries. GraphQL itself is an open source query language for APIs that makes for an easy and simple way to manage data. For more information about the Playground features applicable to the wider GraphQL community, see GraphQL Playground’s Github.
In short, the Playground is a portal that allows you to write GraphQL queries directly against the API within your browser.
The Astronomer Houston API is available in two GraphQL Playgrounds, one requires an external connection to load visual assets, and a second option for use with airgapped environments.
Configure airgapped GraphQL playground access
Astronomer provides a GraphQL playground using an Apollo GraphQL Playground, accessed at https://houston.<your-base-domain>/v1/. The playground makes external requests to load assets such as JavaScript, CSS, and other resources from external URLs. As a result, it cannot be used in an airgapped environment or in cases where strict security requirements apply.
By default, users can access both playgrounds. However, you can restrict users from using the GraphQL playground available at https://houston.<your-base-domain>/v1/.
To disable access to the Apollo GraphQL Playground, and permit users to access only the GraphQL IDE at https://houston.<your-base-domain>/v1/playground, set the graphqlPlaygroundEnabled feature flag to false in your Houston API configuration in the config.yaml file:
Then, apply a configuration change.
Access the GraphQL playground
The URL at which you can reach Houston’s GraphQL playground depends on the platform you’re running. For your installation of Astronomer, it will be https://houston.<your-base-domain>/v1/, or https://houston.<your-base-domain>/v1/playground for airgapped environments.
For example, if you’re a Software customer and your basedomain is Astronomer, you would navigate to https://houston.astronomer/v1/ or https://houston.astronomer/v1/playground.
Authenticate
To query the Astronomer Houston API, you must first authenticate as an Astronomer user.
- Go to
https://app.BASEDOMAIN/tokenand copy the API token. Alternatively, note the API Key of a service account. - Open Astronomer’s Houston API GraphQL Playground at
https://houston.<your-base-domain>/v1/orhttps://houston.<your-base-domain>/v1/playground. - Expand the
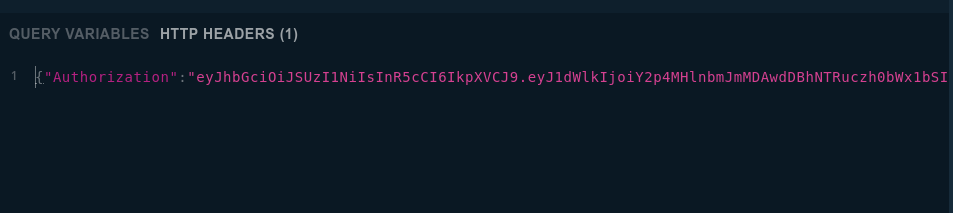
HTTP Headerssection on the bottom left of the page. - Paste the API token you acquired from Step 1 in the following format:
{"authorization": "<api-token>"}
As you work with our API, you’ll be restricted to actions allowed by both your existing role within the platform (e.g. SysAdmin or not) and your permissions within any particular Workspace (e.g. Viewer, Editor, Admin).
Query types
On Astronomer, you can ask for GraphQL:
Houston API schema
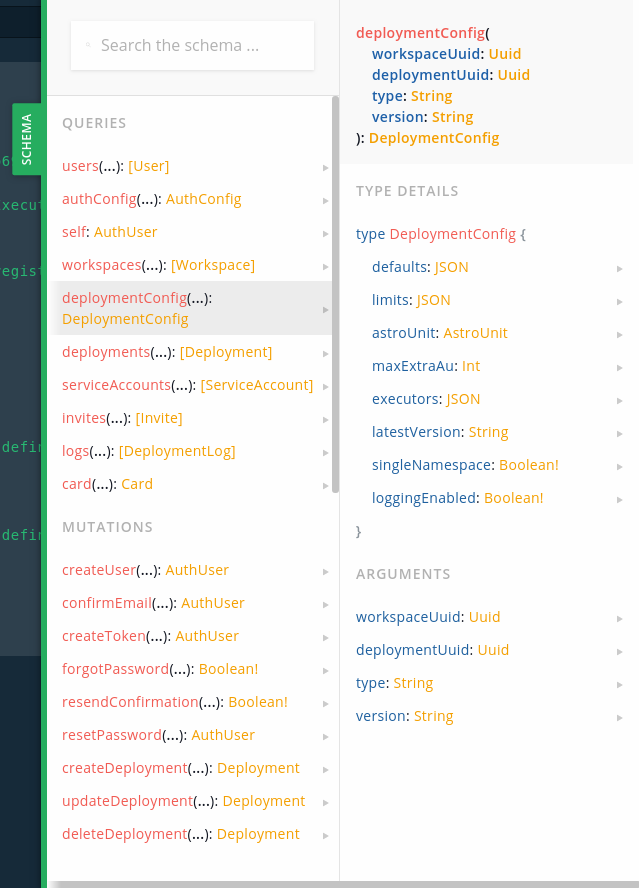
Once authenticated, you should be able to query all endpoints your user has access to. The Schema tab fixed on the right-hand side of the page is a great reference for queries and mutations we support and how each of them is structured.
Sample queries
Read below for commonly used queries. For those not in this doc, reference the “Schema” on the right-hand side as referenced above.
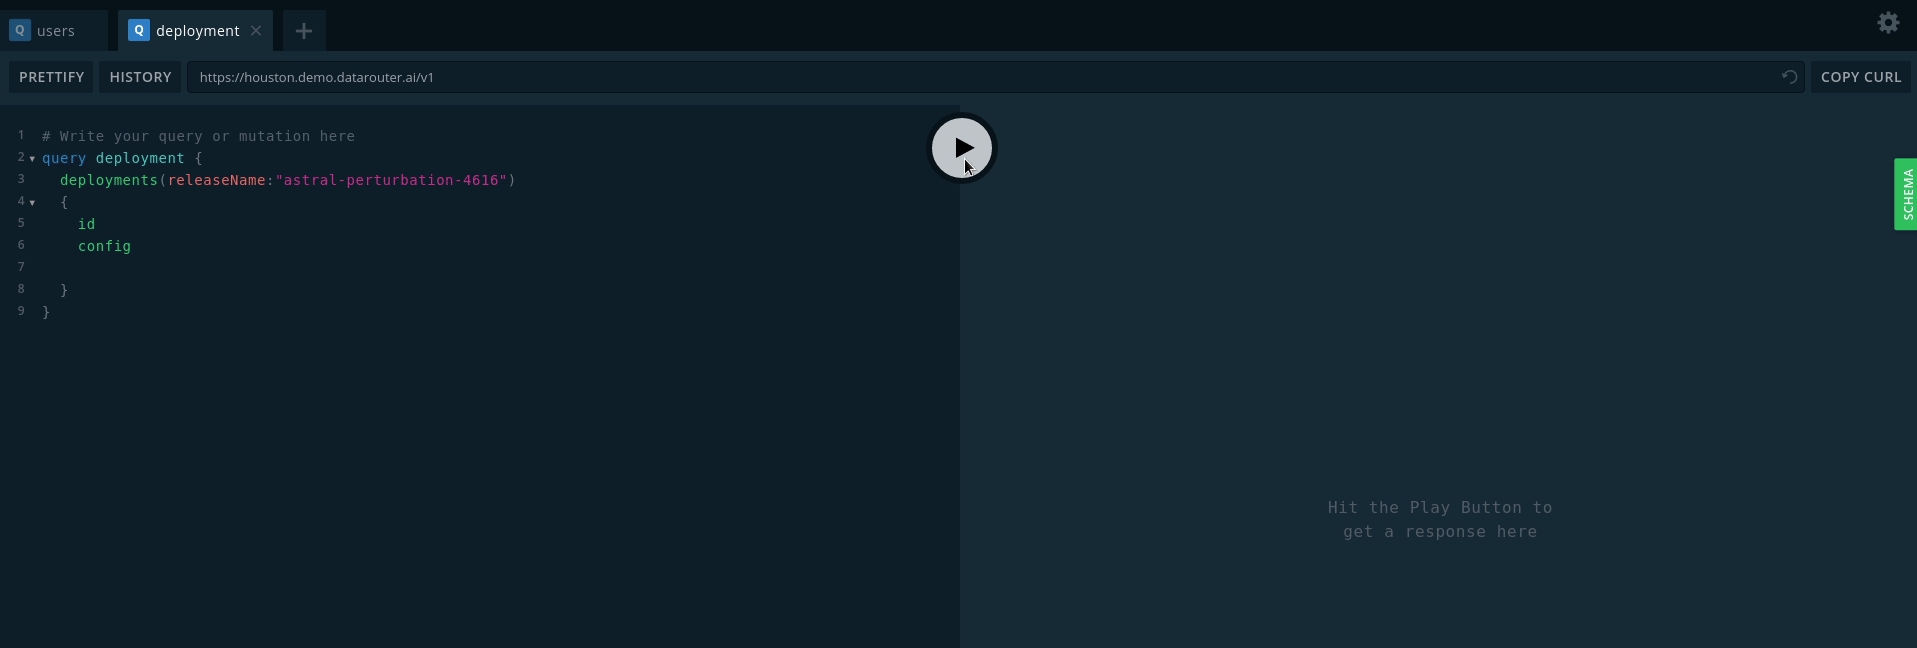
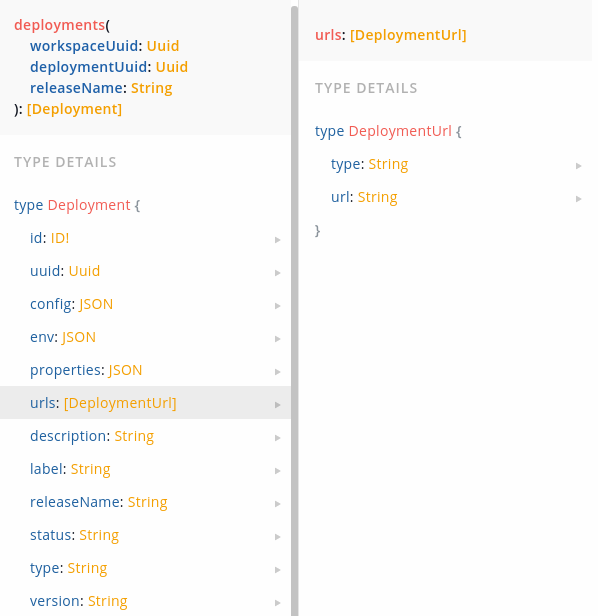
Query an Airflow Deployment
The workspaceDeployments query requires the following inputs:
workspaceUuidreleaseName
and can return any of the fields under Type Details:
configuuidstatuscreatedAtupdatedAtroleBindings- etc.
For instance, you can run the following:
To view results, press the “Play” button in middle of the page and see them render on the right side of the page.
Query a user
To query for information about a user on the platform (e.g. “When was this user created?” “Does this user exist?” “What roles do they have on any Workspace?”), run a variation of the following:
In the output, you should see:
- The user’s
id - A list of existing roles across the cluster (e.g. Workspace Admin)
- The status of the user (
active,pending) - A timestamp that reflects when the user was created
Sample mutations
Mutations make a change to your platform’s underlying database. For some common examples, read below.
Create a Deployment
To create a Deployment, you’ll need:
- Workspace Admin permissions
- Your Workspace ID
Then, to create a Deployment, run the following:
Here, <airflow-executor> can be LocalExecutor, CeleryExecutor, or KubernetesExecutor.
Create or update a Deployment with configurations
The upsertDeployment mutation is behind a feature flag. To enable this feature, set the following configuration in your values.yaml file:
Then push the configuration change to your cluster. See Apply a config change.
The upsertDeployment mutation can be used to both create and update Deployments with all possible Deployment configurations. If you query upsertDeployment without a deploymentUuid, the Houston API creates a new Deployment according to your specifications. If you specify an existing deploymentUuid, the Houston API updates the Deployment with that ID. All queries to create a Deployment require specifying a workspaceUuid.
The following query creates a new Deployment in a custom namespace test-new-dep and configures a Deployment environment variable AIRFLOW__CORE__COLORED_LOG_FORMAT.
Delete a Deployment
To delete a Deployment, you’ll need:
- Permission (SysAdmin or Workspace Admin)
- A Deployment ID
For more information about the SysAdmin role, reference our “User Management” doc.
If you don’t have a Deployment ID, run astro deployment list in the Astro CLI or follow the steps in “Query an Airflow Deployment”.
Then, to delete a Deployment, run the following:
Create a Deployment user
To create a Deployment user, you’ll need:
- Workspace Admin privileges
- A Deployment ID
If you don’t have a Deployment ID, run astro deployment list in the Astro CLI or follow the steps in “Query an Airflow Deployment”.
First, add the following to your GraphQL playground:
Then, in the Query Variables tab, add the following:
Here, <user-role> can be DEPLOYMENT_ADMIN, DEPLOYMENT_EDITOR, or DEPLOYMENT_VIEWER.
After you specify these variables, run the mutation.
Delete a user
To delete a user, you’ll need:
- SysAdmin permissions
userUuid
With a userUuid, run the following:
Verify user email
If a user on the platform has trouble verifying their email address upon signup, you can use the Playground to manually verify it.
To run this mutation, you’ll need:
- SysAdmin Permissions
- User’s email address
With the email address in question, run the following:
To run this mutation, ensure that the user in question has already begun creating an account on the platform (i.e. the user has signed up and the platform has generated an “invite token” for that user).
Bypass user email verification
If you don’t need certain users to verify their email before joining a Workspace, you can configure a bypass when adding them to a Workspace. This can be useful for minimizing friction when programmatically inviting many users to your platform.
To run this mutation, you’ll need:
- Workspace Admin permissions
- A Workspace ID
- The user’s email address
- The user’s Workspace role
Add a System Admin (Software only)
System Admins can be added either via the Software UI (‘System Admin’ > ‘User’ > ‘User Details’) or via an API call to Houston. To run the mutation in the GraphQL Playground, you’ll need:
userUuidrole(SYSTEM_ADMIN)
Keep in mind that only existing System Admins can grant the SysAdmin role to another user and that the user in question must already have a verified email address and already exist in the system.
With the uuid you pulled above, call the createSystemRoleBinding mutation by running:
If you’re assigning a user a different System-Level Role, replace SYSTEM_ADMIN with either SYSTEM_VIEWER or SYSTEM_EDITOR in the mutation above.
Create a service account
You can create Deployment and Workspace-level accounts in the Software UI as described in Deploy to Astronomer via CI/CD. Alternatively, you can create platform-level service accounts programmatically via the Houston API. To create a service account via the Houston API, run the following in your GraphQL Playground:
Update environment variables
To programmatically update environment variables, you’ll need:
- A Deployment ID
- A Deployment release name
If you don’t have a Deployment ID, run astro deployment list in the Astro CLI or follow the steps in “Query an Airflow Deployment”.
Then, in your GraphQL Playground, run the following:
Custom types
Any object in the Schema that maps to a custom GraphQL Type often requires additional subfields to be added to the query or mutation return object.
Below, we describe this concept in the context of a sample mutation.
Add a user to a Workspace
For example, take the “Add a user to a Workspace” mutation.
As input, you need:
- A Workspace ID
- Email address of the user
- The designated role for the user (for example,. Workspace “Admin”, “Editor” or “Viewer”)
If you don’t already have a Workspace ID, run astro workspace list in the Astro CLI.
With that information, run the following:
In the above example, you should see the following return:
- The email addresses of all users in the Workspace
- The Workspace
label - The date on which the Workspace was created
Unlike the label and createdAt fields, notice that the users type field requires you to specify additional subfields, i.e. emails and then addresses.
To know which fields you can or must specify, reference the “Schema” on the righthand side of the page. As is the case here, custom types are often composed of other custom types.
Delete a Workspace
To delete a Workspace, you’ll need the ID of the Workspace you want to delete. You can find this by running astro workspace list.
Using the Workspace ID, run the following query to delete the Workspace: