> ## Documentation Index
> Fetch the complete documentation index at: https://astronomer.io/docs/llms.txt
> Use this file to discover all available pages before exploring further.
# Develop Airflow DAGs locally with PyCharm
This page hasn't yet been updated for Airflow 3. The concepts shown are relevant, but some code may need to be updated. If you run any examples, take care to update import statements and watch for any other breaking changes.
This example shows how to set up [PyCharm](https://www.jetbrains.com/pycharm/) for local development with Airflow and the [Astro CLI](/docs/cli/v1.43/overview). Setting up a local development environment allows you to iterate more quickly when developing DAGs by taking advantage of IDE features.
## Before you start
Before trying this example, make sure you have:
* [PyCharm](https://www.jetbrains.com/pycharm/)
* The [Astro CLI](/docs/cli/v1.43/install-cli)
* An Astro project running locally on your computer. See [Getting started with the Astro CLI](/docs/cli/v1.43/get-started-cli)
## Configure the Python interpreter
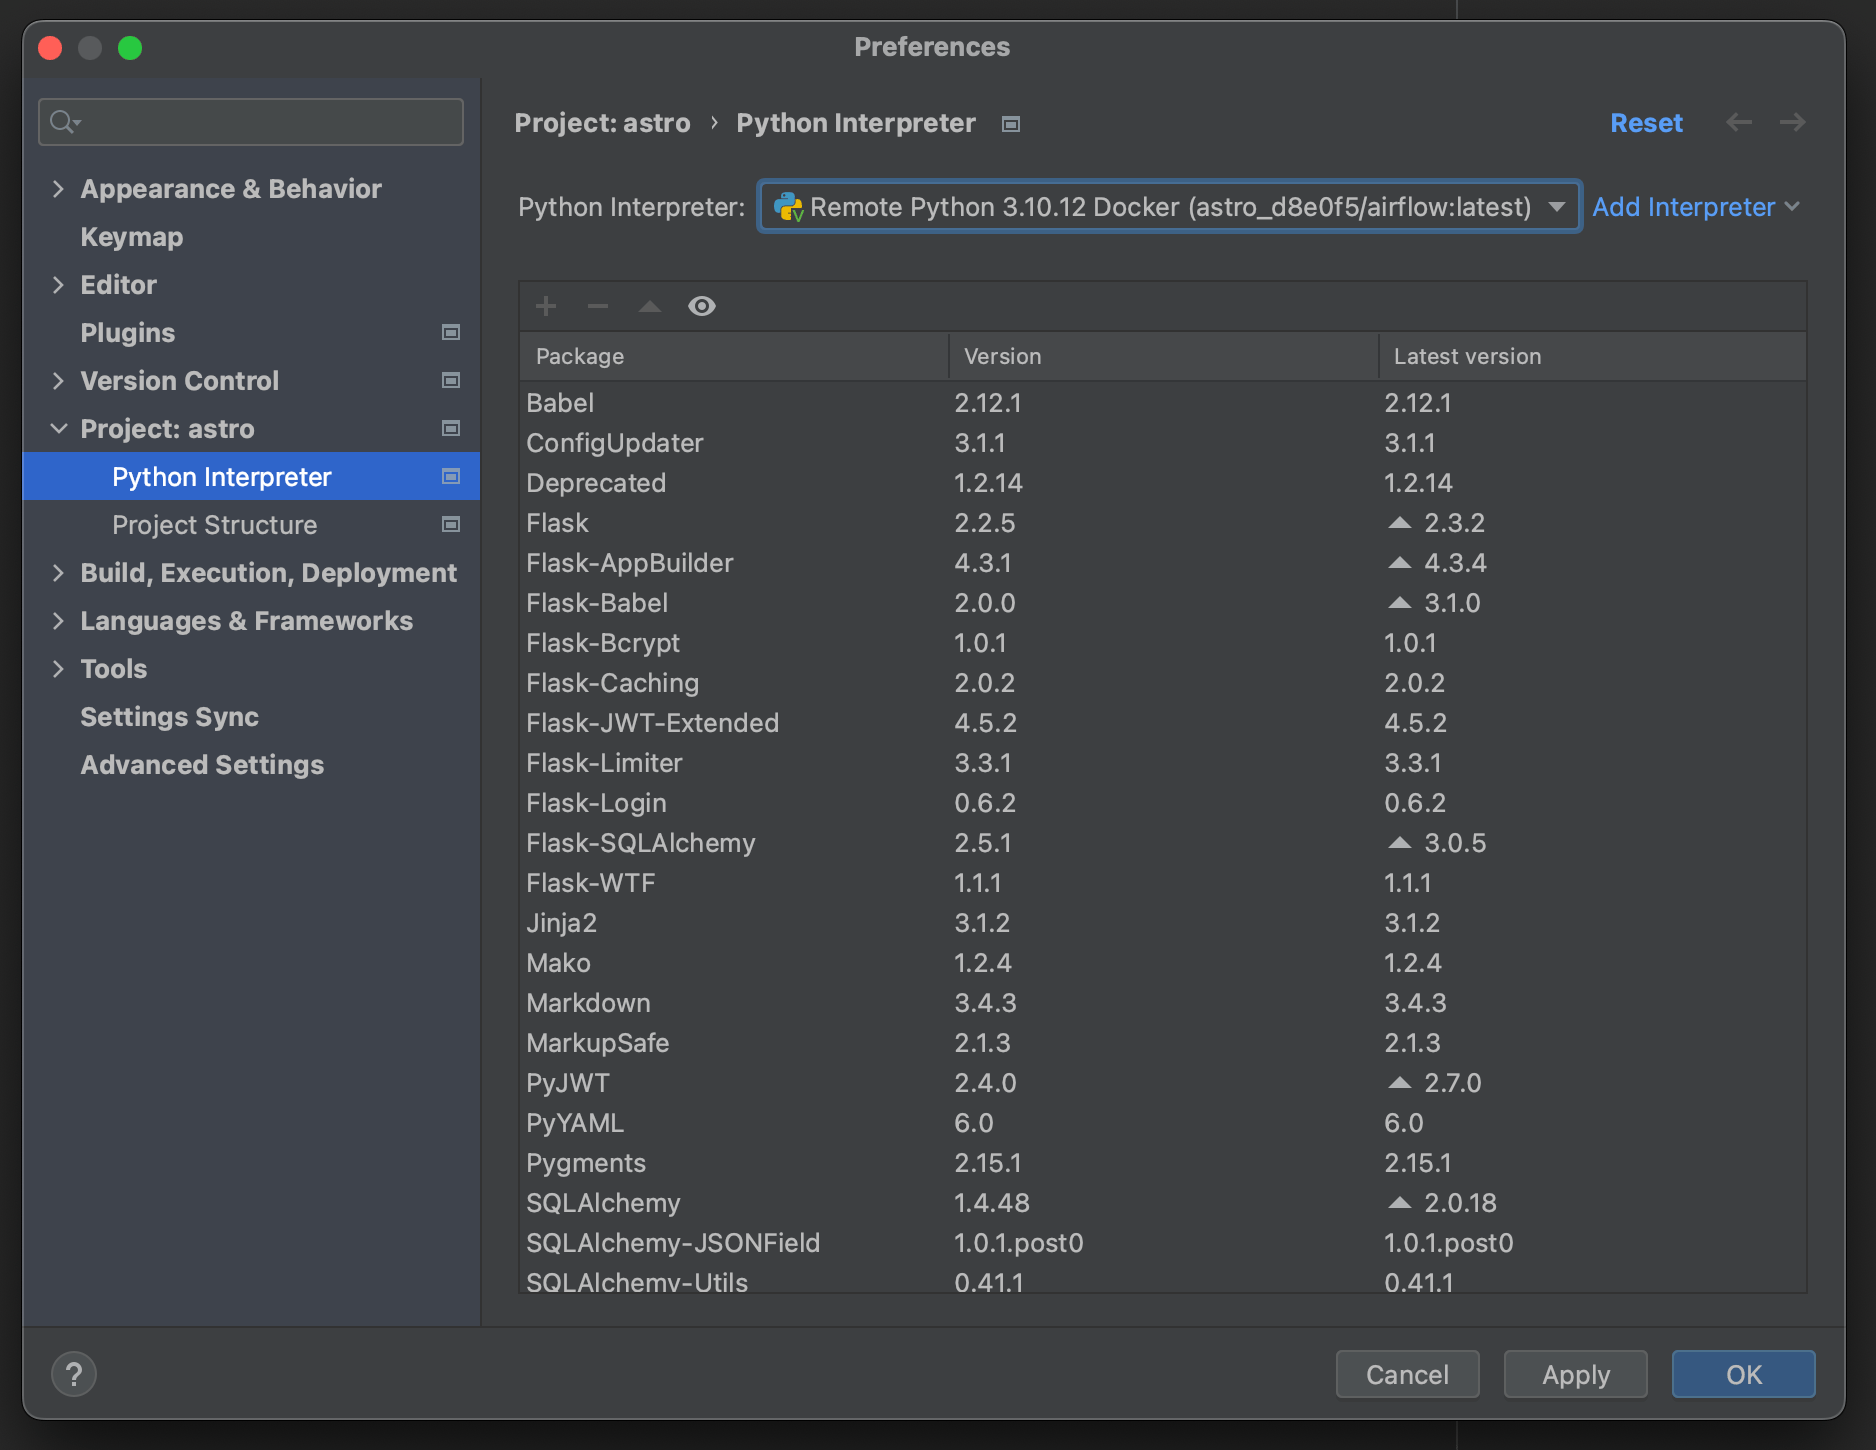
To develop Airflow DAGs in PyCharm, you need to configure at least one Python interpreter. In this example you configure an interpreter using Docker, which allows you to write Python code and interact with running DAGs from within PyCharm.
1. In your PyCharm preferences go to **Build, Execution, Deployment** >> **Docker** and specify how to connect to the Docker daemon. For more, see [Connect to Docker](https://www.jetbrains.com/help/pycharm/docker.html#connect_to_docker).
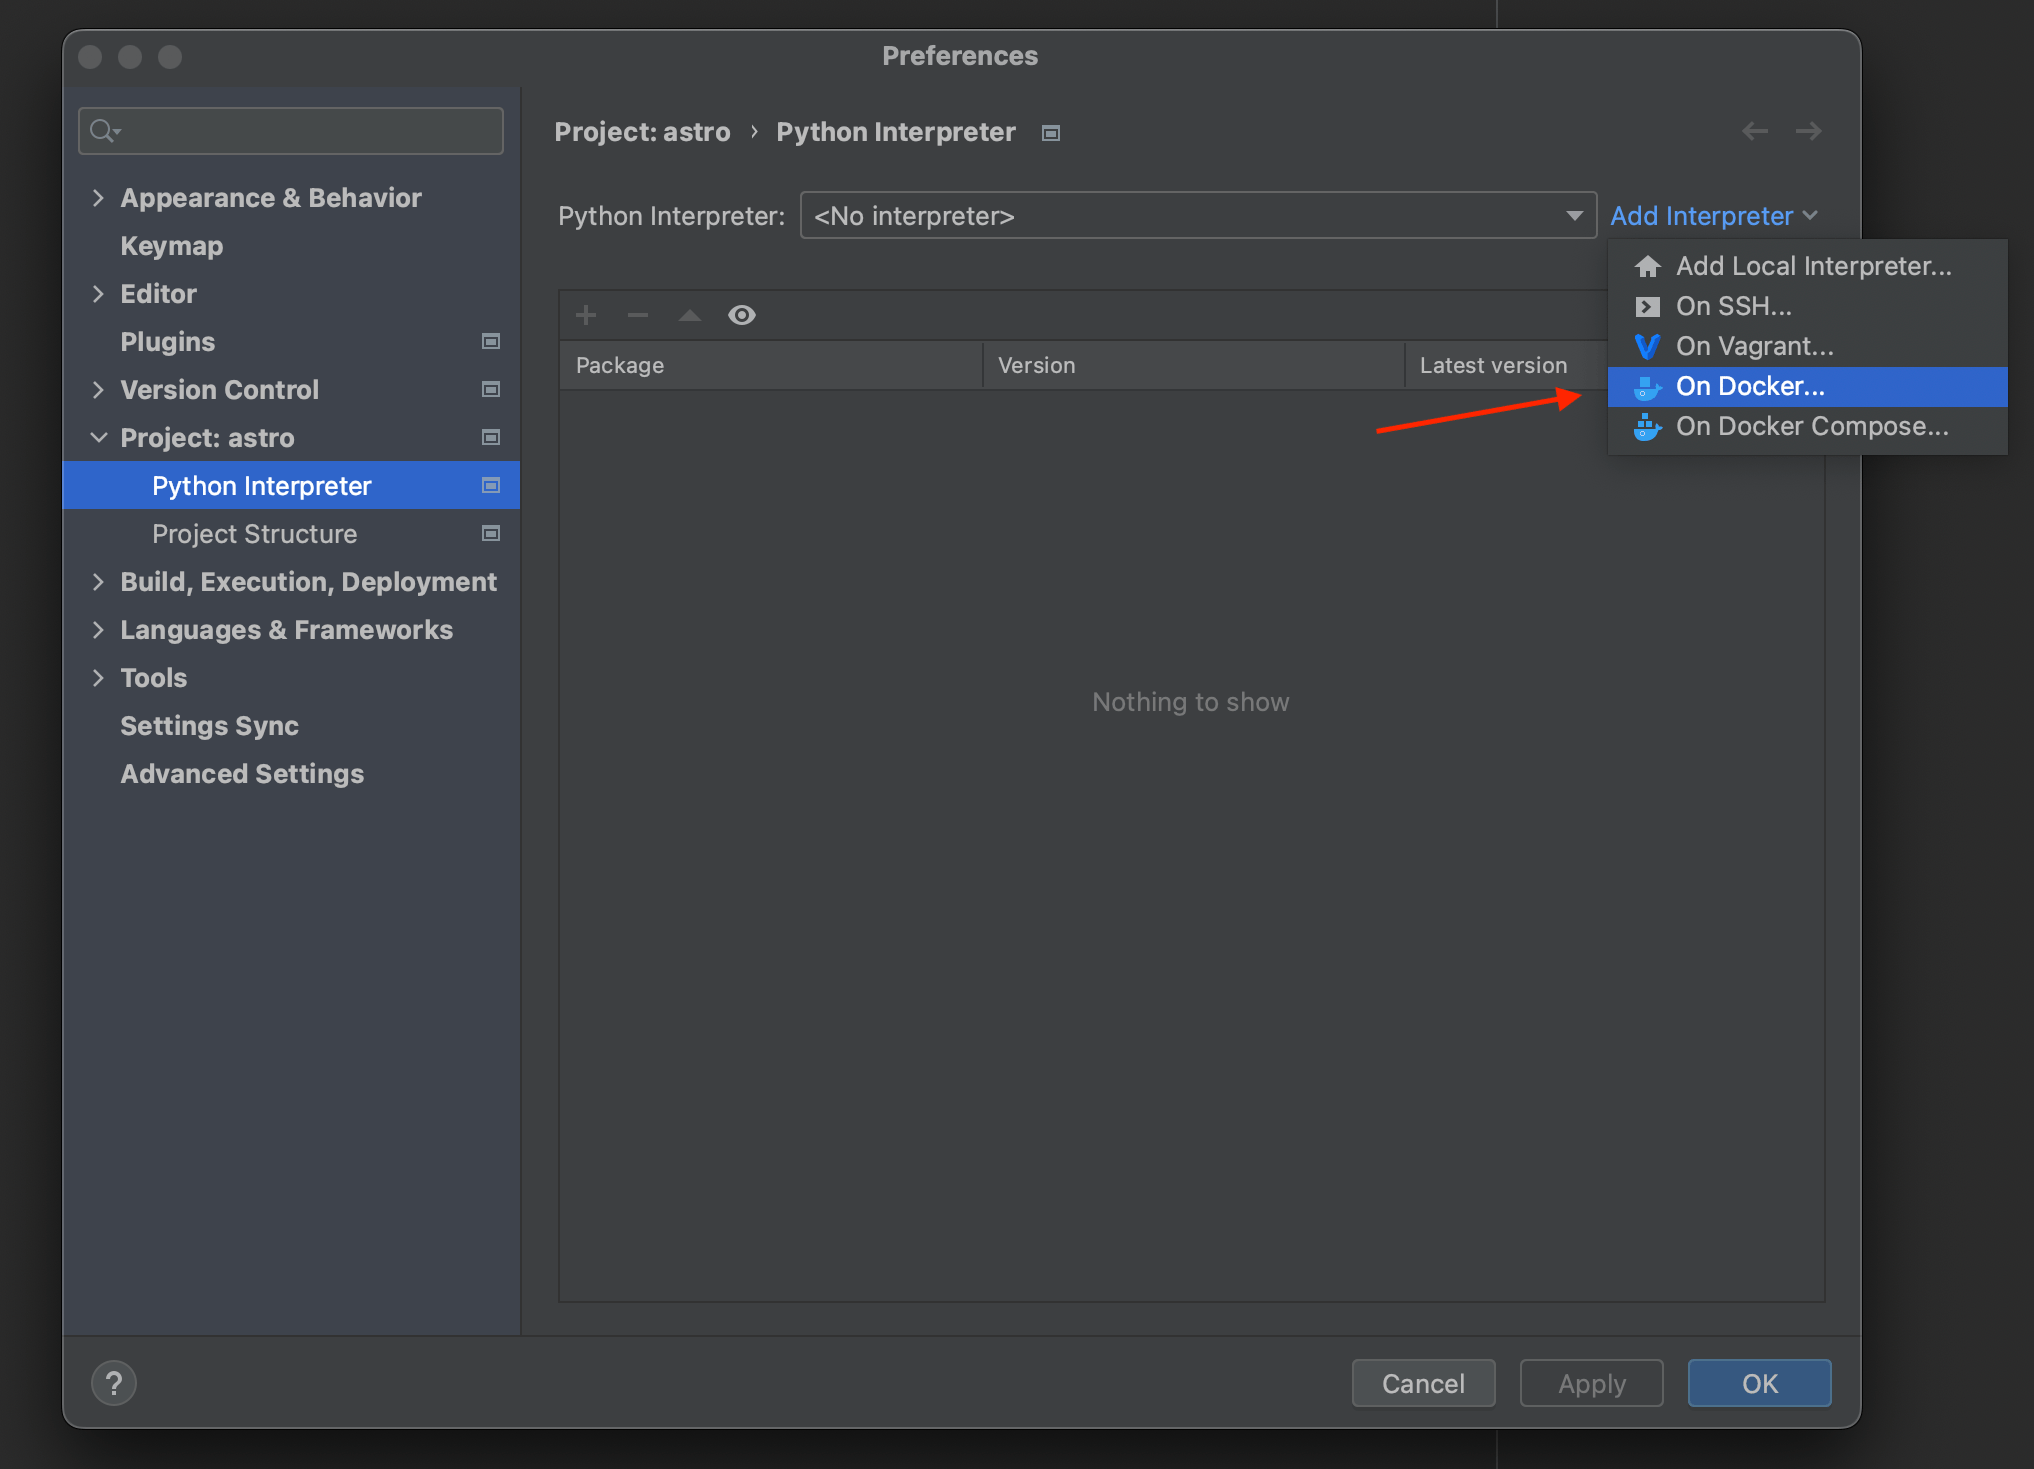
2. Go to **Project: \** >> **Python Interpreter**. Click the **Add Interpreter** button on the right, and then click **On Docker**:
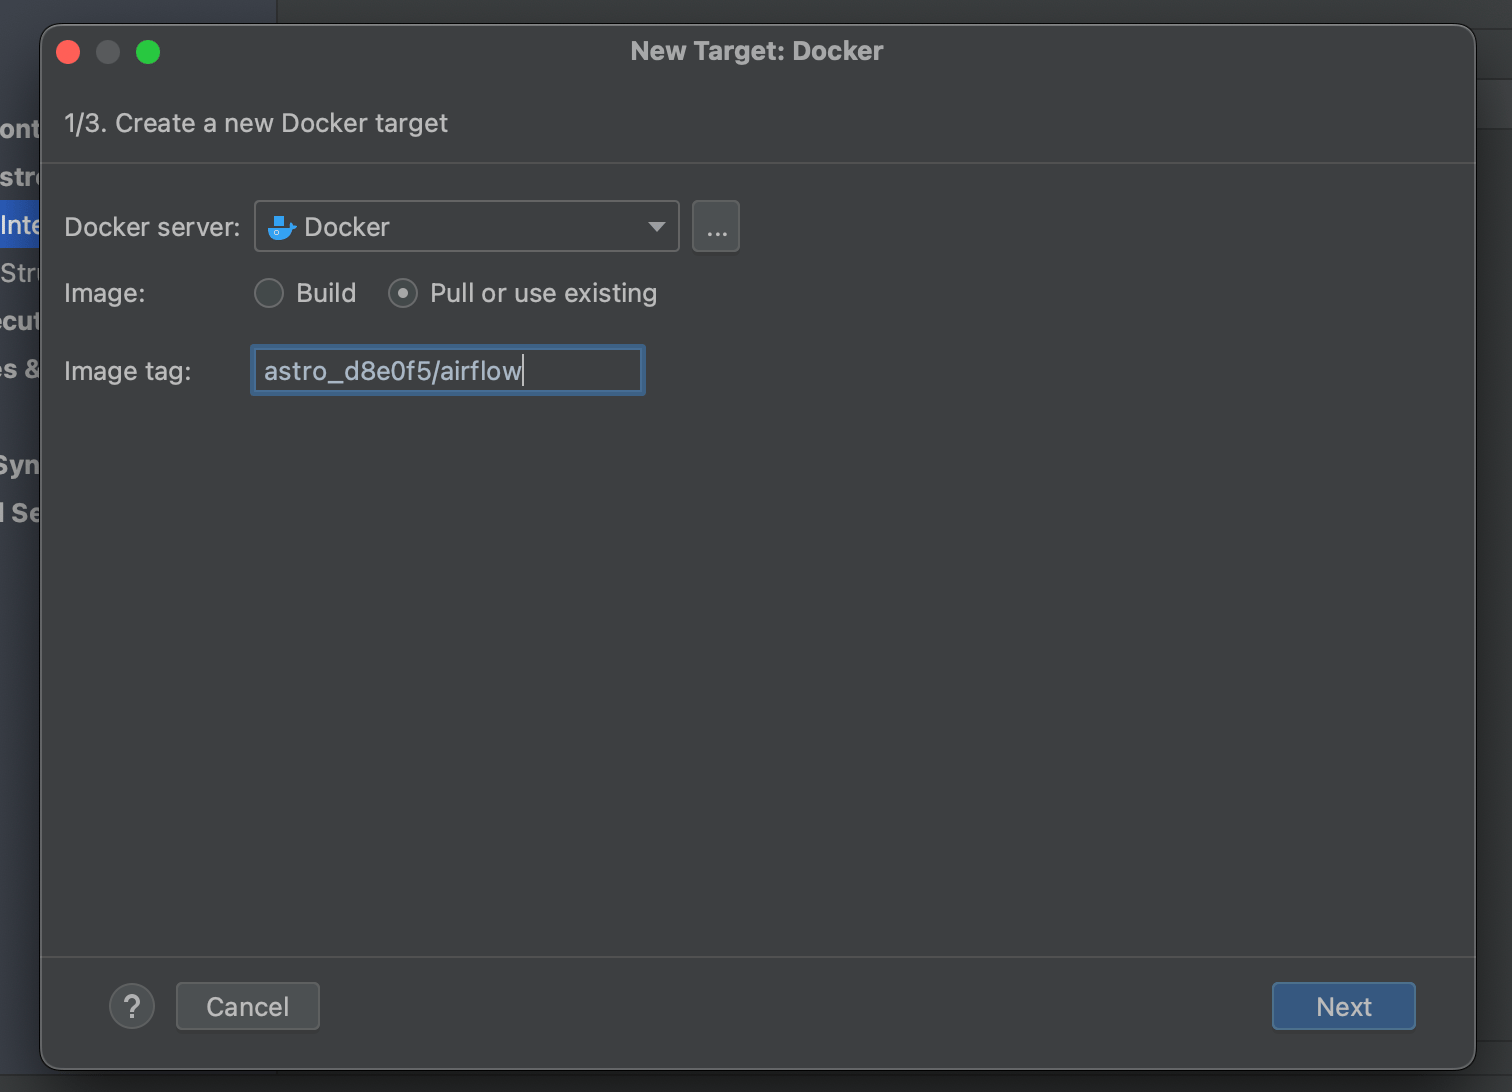
 3. In the window that appears, select **Pull or use existing** for the **Image** option. In the **Image tag** field, select the Docker image that your Airflow environment is running, then click **Next**.
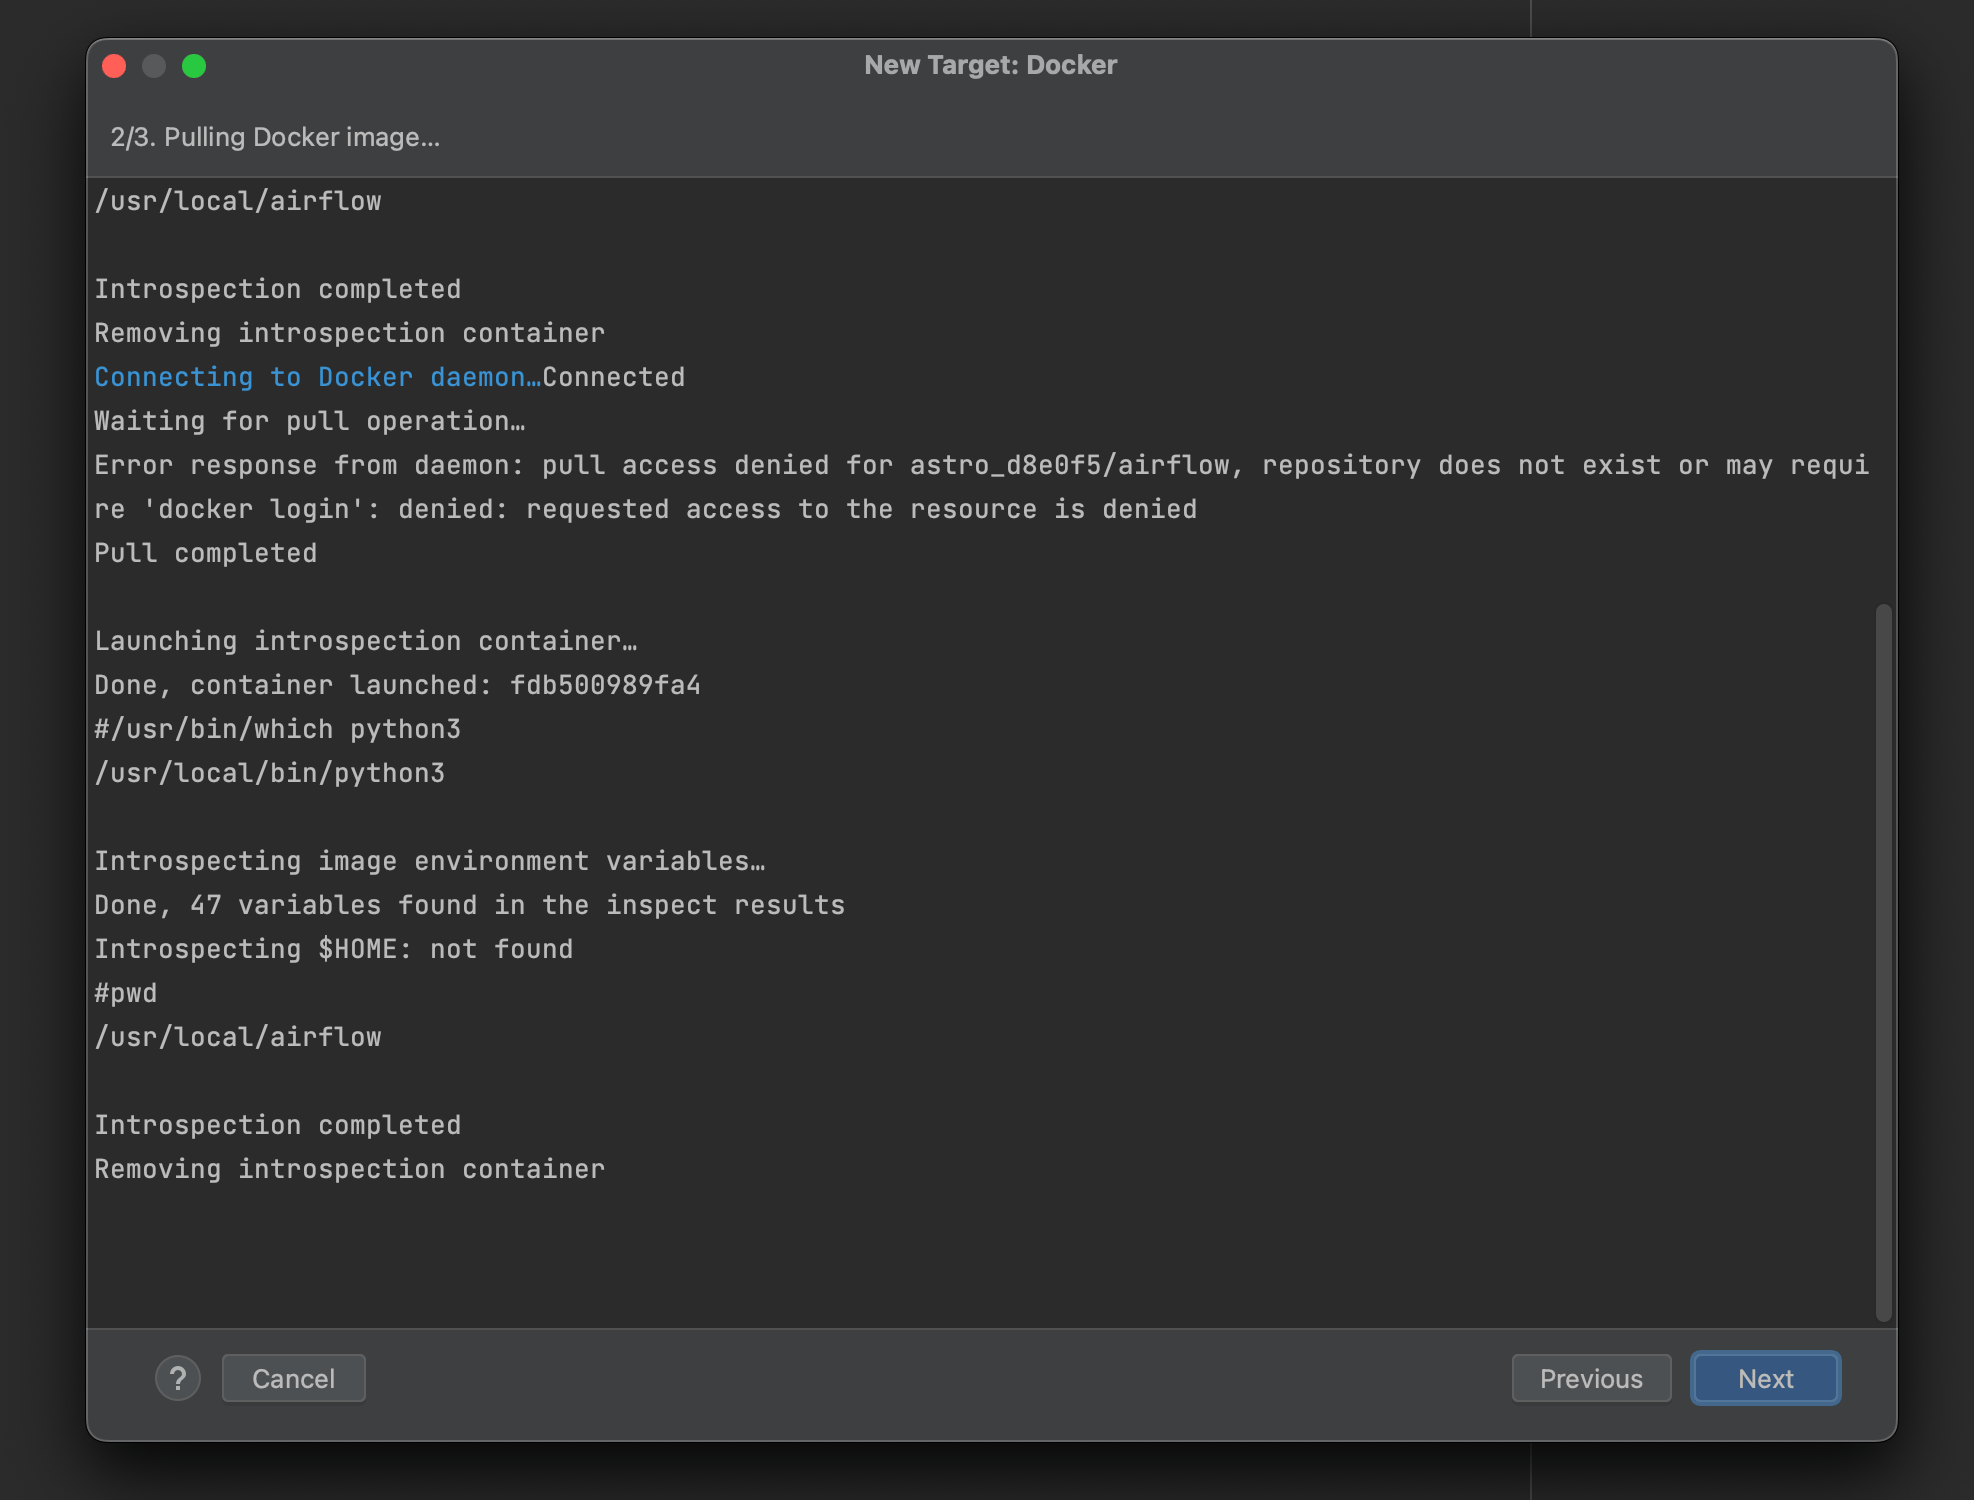
 4. Wait for PyCharm to finish pulling the Docker image and then click **Next**.
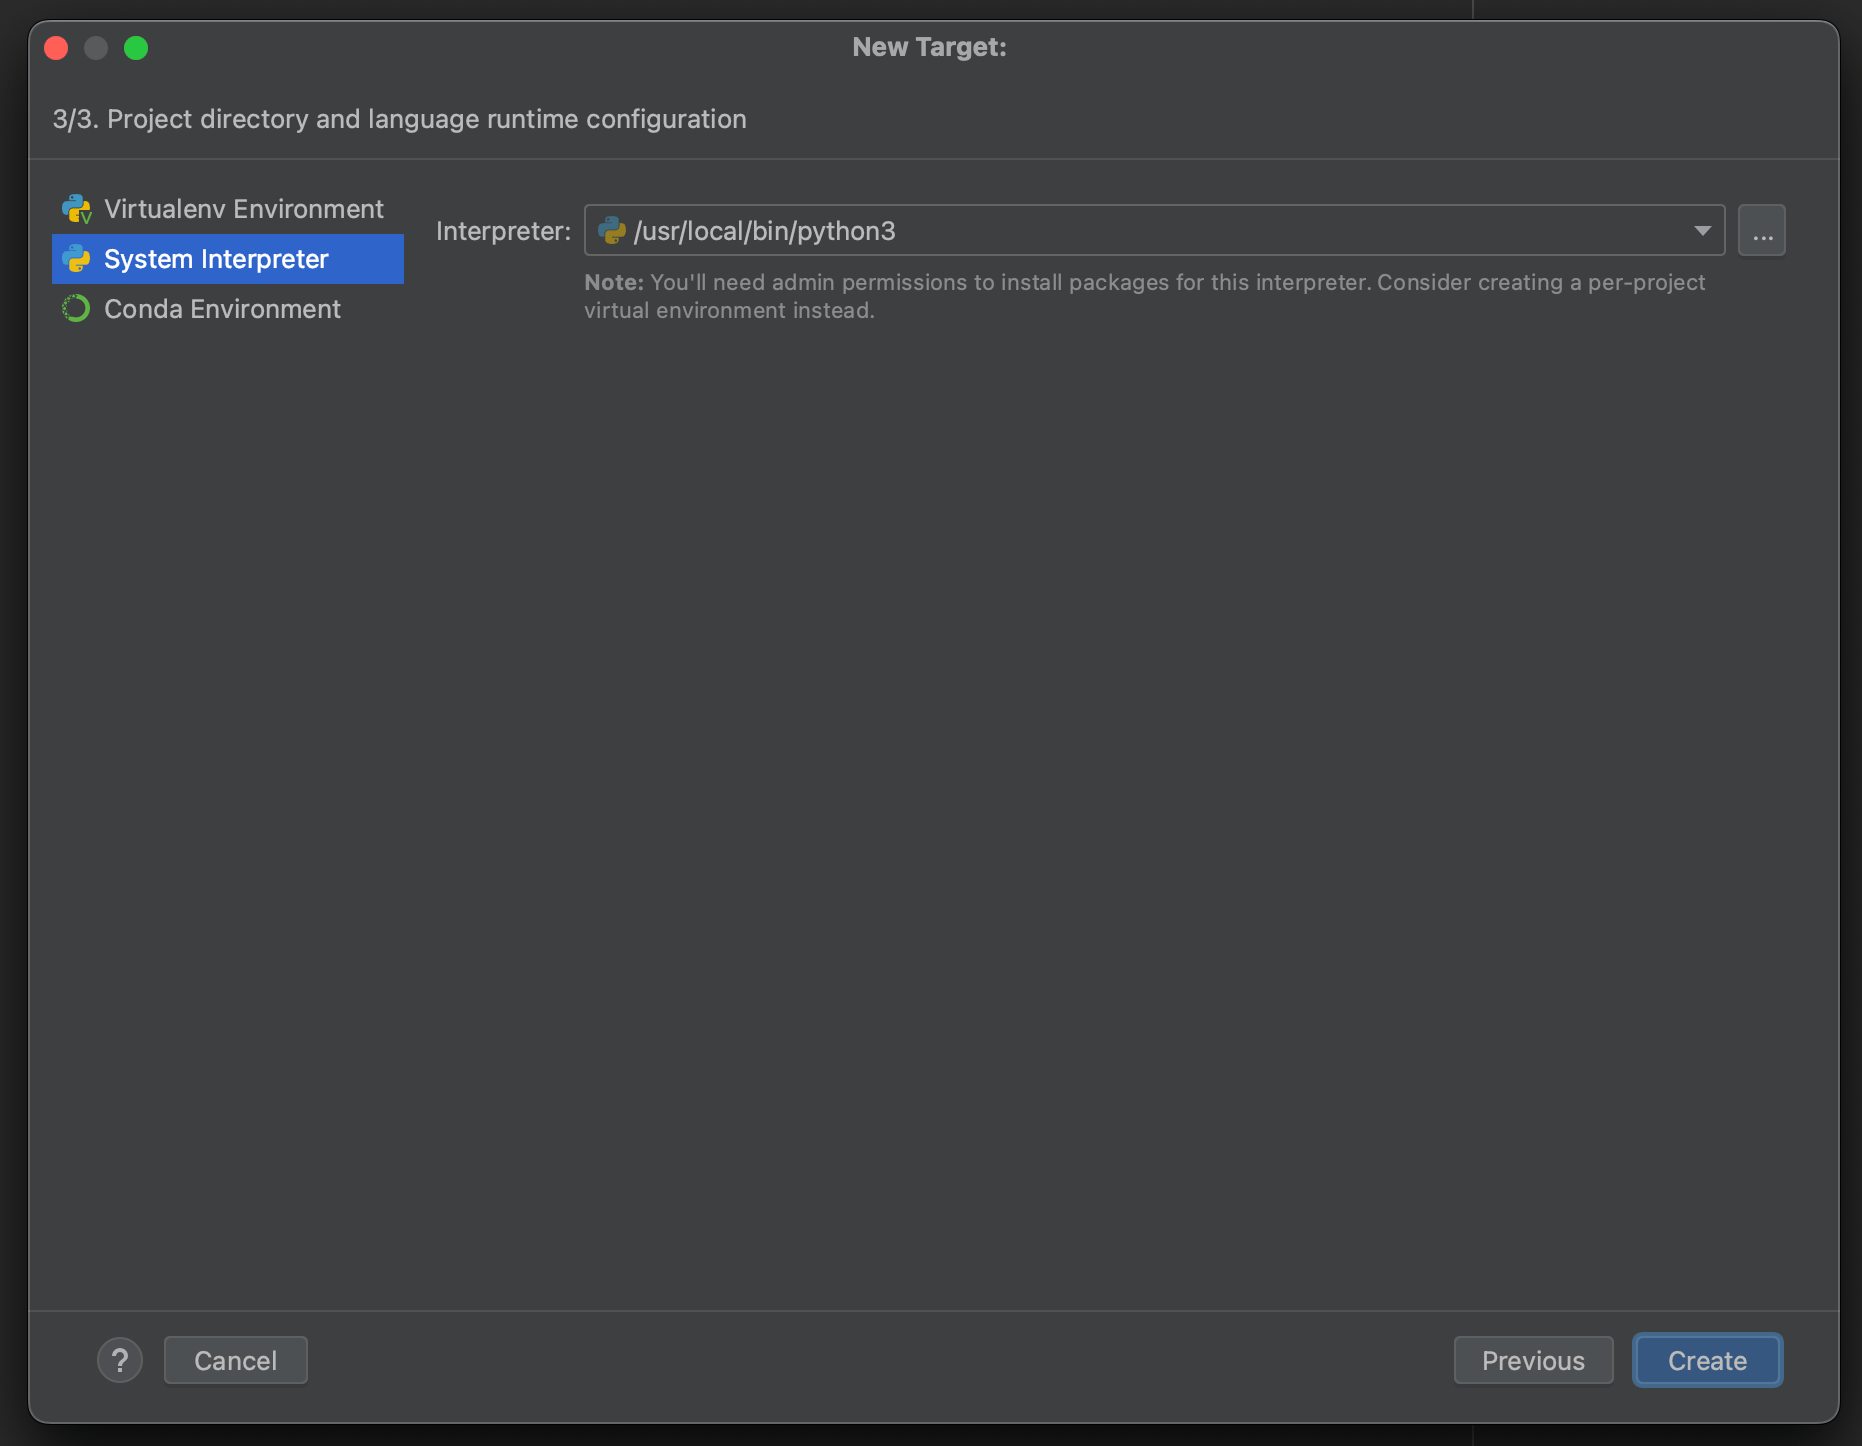
 5. Ensure the **System Interpreter** is set to Python 3. By default this path will point to the location of Python 3 on the machine and shouldn't need to be changed. Then, click **Create**.
 6. On the original **Python Interpreter** setup screen, ensure the Python interpreter is set to the docker image and click **Apply**, followed by **OK**.
 ## Write Airflow code with PyCharm
After you configure PyCharm to use the correct interpreter for Airflow, you get multiple advantages like code autocompletion, identifying deprecated or unused imports, and error syntax highlighting.
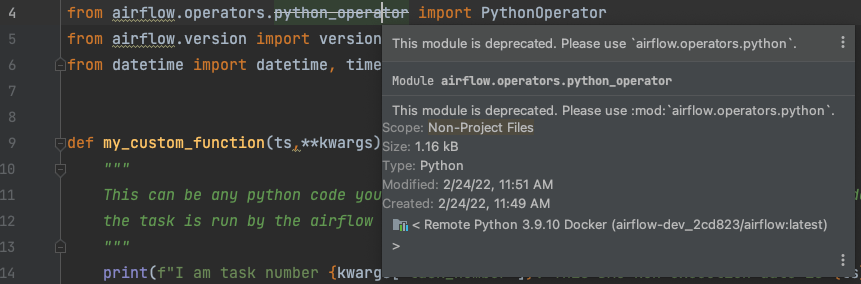
PyCharm will show you when there are deprecated imports in your project:
## Write Airflow code with PyCharm
After you configure PyCharm to use the correct interpreter for Airflow, you get multiple advantages like code autocompletion, identifying deprecated or unused imports, and error syntax highlighting.
PyCharm will show you when there are deprecated imports in your project:
 It can also alert you when an import is unused:
 Like with other Python projects, PyCharm will highlight syntax errors in your Airflow code:
 Lastly, here is an example of PyCharm autocompleting code and showing built-in definitions:
 ## Manage Airflow Docker containers with PyCharm
With PyCharm configured to use the Python interpreter from Docker, you can connect to your Docker containers directly from PyCharm using the **Services** pane. If you don't see this pane, try pressing `cmd+8`.
## Manage Airflow Docker containers with PyCharm
With PyCharm configured to use the Python interpreter from Docker, you can connect to your Docker containers directly from PyCharm using the **Services** pane. If you don't see this pane, try pressing `cmd+8`.
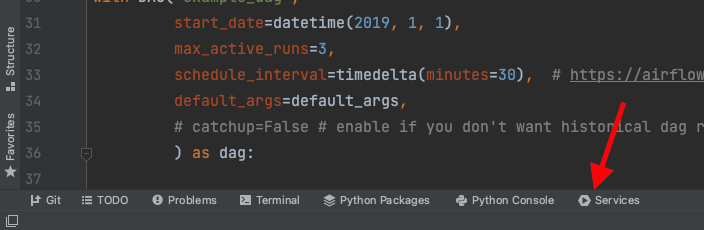 From the **Services** pane, start Docker by clicking the green play button. You’ll see the same containers appear as when you run `docker ps` after starting your Astro project locally:
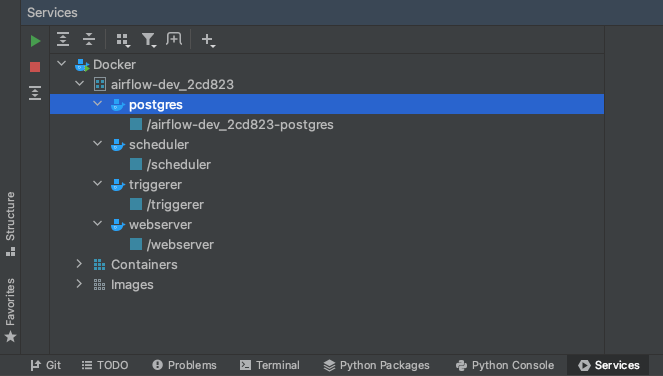 View logs for the containers by clicking on `/scheduler`, `/triggerer`, `/webserver`, or `/airflow-dev_2cd823-postgres`. Note that these strings might differ based on where the parent directory for your project is located:
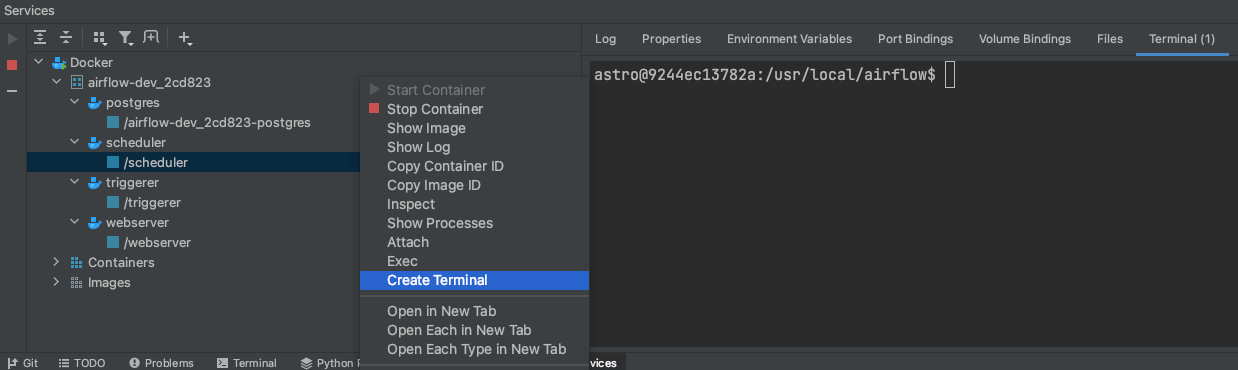
 Run Airflow CLI commands by right clicking on `/scheduler` and selecting **Create Terminal** to bash into the container:
 ## See also
* [Develop with VS Code](/docs/learn/vscode-local-dev)
* [Debug interactively with `dag.test`()](/docs/learn/testing-airflow#debug-interactively-with-dag-test)
## See also
* [Develop with VS Code](/docs/learn/vscode-local-dev)
* [Debug interactively with `dag.test`()](/docs/learn/testing-airflow#debug-interactively-with-dag-test)